Home
Home Improvement
Toilet Instalation - Tricks of the Trade
While it is easy to understand the way a toilet is supposed to be fastened to its drainpipe, but sometimes getting the job done in the real world can be a challenge. Replaceable bolts attached to the flange of the three-inch or four-inch drain under the floor, extend up into holes in the toilet base. A sticky wax ring seals the joint between toilet and flange, keeping wastewater contained on its way down and out. All this sounds simple enough, except when you run into the reality of seized bolts on an old toilet or a new one that leaks no matter what you do. This is where some tricks of the trade can help.
Tricks of the Trade:

Trick # 1 - Double-Up on the Wax Ring
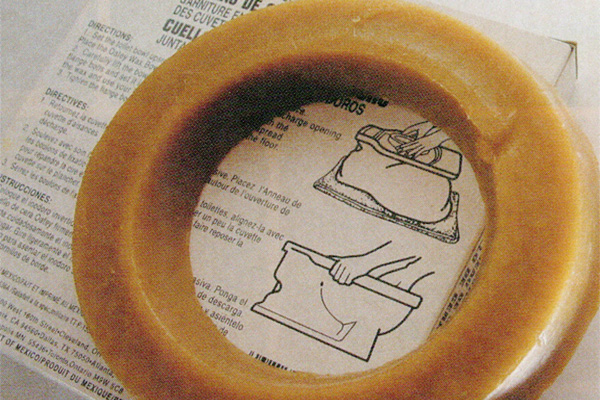
Sometimes, after the addition of a new bathroom floor over top the old one, the height of the toilet drain flange falls far enough below floor level to cause leaks. This shows up as wet spots around the base of the toilet after every flush or two. You know you have this problem when you unbolt the troublesome toilet, lift it off and see that the new wax sealing ring you just put down has areas that remain uncompressed.
The solution is simple enough. Add another wax ring on top of the first one, then bolt the toilet back down. If the shortfall above one ring seems small, slice the second ring in half like a bagel, then meld the cut piece into the whole ring before putting everything back together and checking for leaks. You probably won’t find any.

Trick # 2 - Sawing Off the Flange Bolts
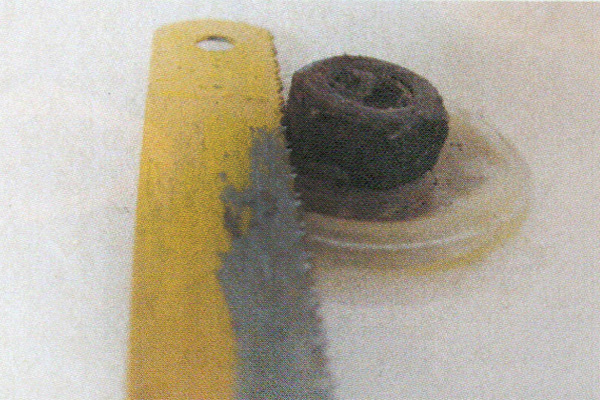
It’s quite common to find that the bolts holding down old toilets are corroded and won’t loosen. Before you apply enough force to break the flange on the toilet drain, saw the old bolts off from the top. Most are made of soft brass, and you’ll have no trouble sawing through the metal where the nut meets the bolt just above the toilet base. A hacksaw blade taken out of its frame is a good tool for this job.

Trick # 3 - Go Easy With the Tank
Most toilets include a separate porcelain tank that gets bolted to the bowl assembly with a large foam donut between the two to seal against water leaks. It's very easy to over-tighten these bolts, putting excess stress on the tank. Be careful. The only thing worse than cracking your new toilet tank during assembly is having it break unexpectedly in a year or two when you’re not home. Remember that it doesn’t take much bolt tension to enable the foam sealing ring to do its job.

Trick # 4 - Wiggly Toilet Rx
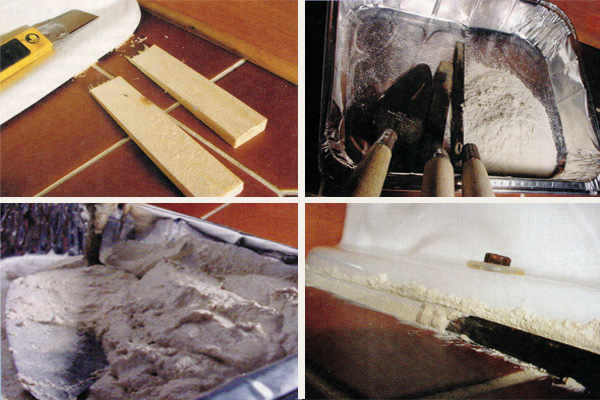
You can't rely on the flange bolts to hold a toilet steady if it's sitting on an uneven floor. Instead, slips some wooden wedges into the gaps around the base of the toilet, tapping them lightly until the movement stops. Trim the wedges off with a utility knife, then pack tile grout into the gap between toilet and floor. This creates a permanent, custom-fit masonry wedge that eliminates all toilet movement.
Quick & Easy Ways to Spruce up Your Home
Improve the look of your house and make it more marketable and appealing. You can redecorate your household interior even if you're on a tight budget. Here are some tips on how to create a brand new look for your home, or simply refresh your existing one, and make everything look neat and... >>> Learn more...


